Installation & Care
Every ILNOR piece is thoughtfully designed for simple installation, everyday durability, and long-term use.
With proper installation and care, your product will continue to age beautifully over time.
Installation Guide
What’s Included
Depending on the product, your package may include:
- wall mounting brackets
- screws and wall plugs
- alignment template
- mounting hardware
- modular fittings
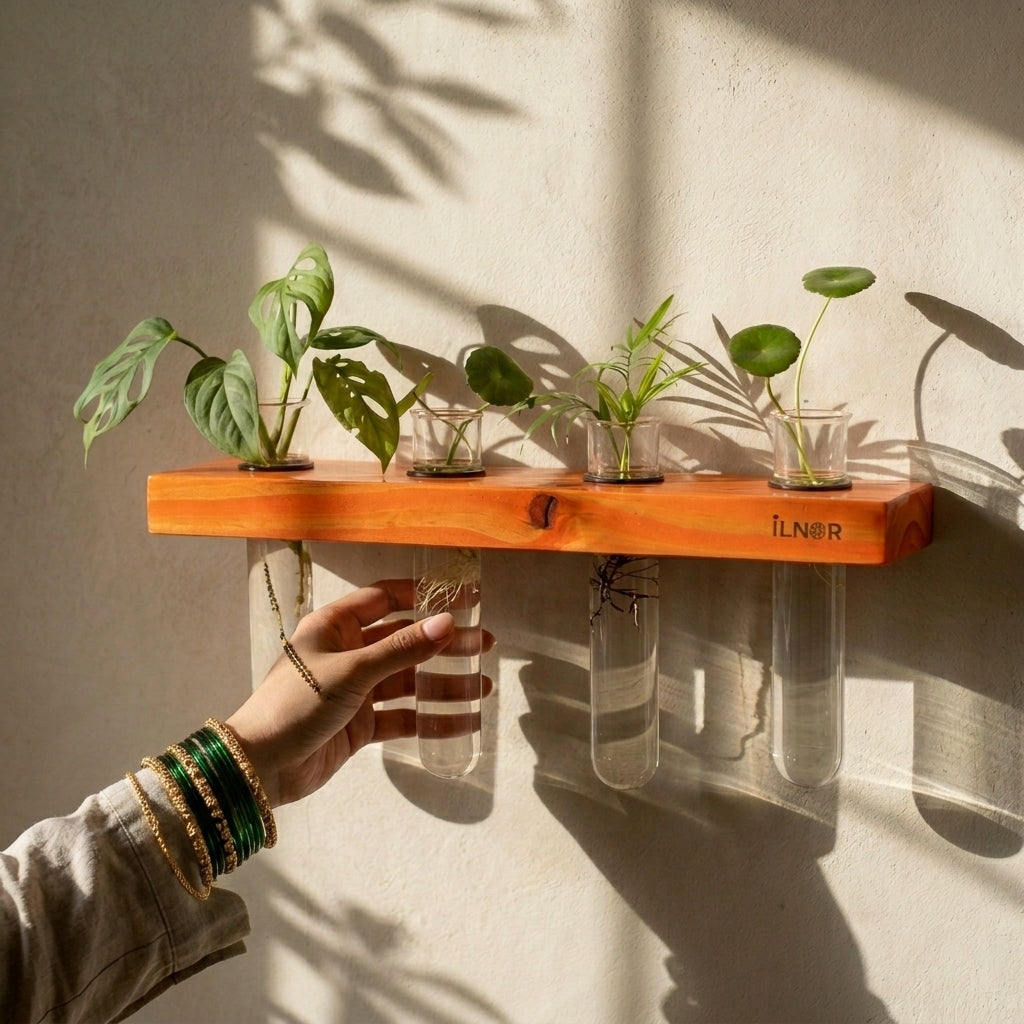
- borosilicate glass tubes
- support rings for glass height adjustment
Before You Begin
Before installation:
- choose a strong and level wall surface
- ensure proper measurements and alignment
- use the recommended drill bit size mentioned on the installation template
- verify wall suitability for mounted products
For drywall, hollow walls, or delicate surfaces, professional installation is recommended.
Step-by-Step Installation Process
Step 1 — Mark the Wall
Use the provided installation template to accurately mark the drilling points on the wall.
The template includes:
- spacing alignment
- drilling positions
- recommended drill bit guidance
Ensure the markings are level before drilling.
Step 2 — Drill & Insert Wall Plugs
Drill the marked points carefully and insert the provided wall plugs securely into the wall.
These help provide proper support and long-term stability.
Step 3 — Install the Mounting Unit
Securely fasten the mounting brackets or shelf support system using the provided screws and hardware.
Before tightening completely:
- verify alignment
- ensure the shelf sits level
- check structural stability
Step 4 — Mount the Shelf or Structure
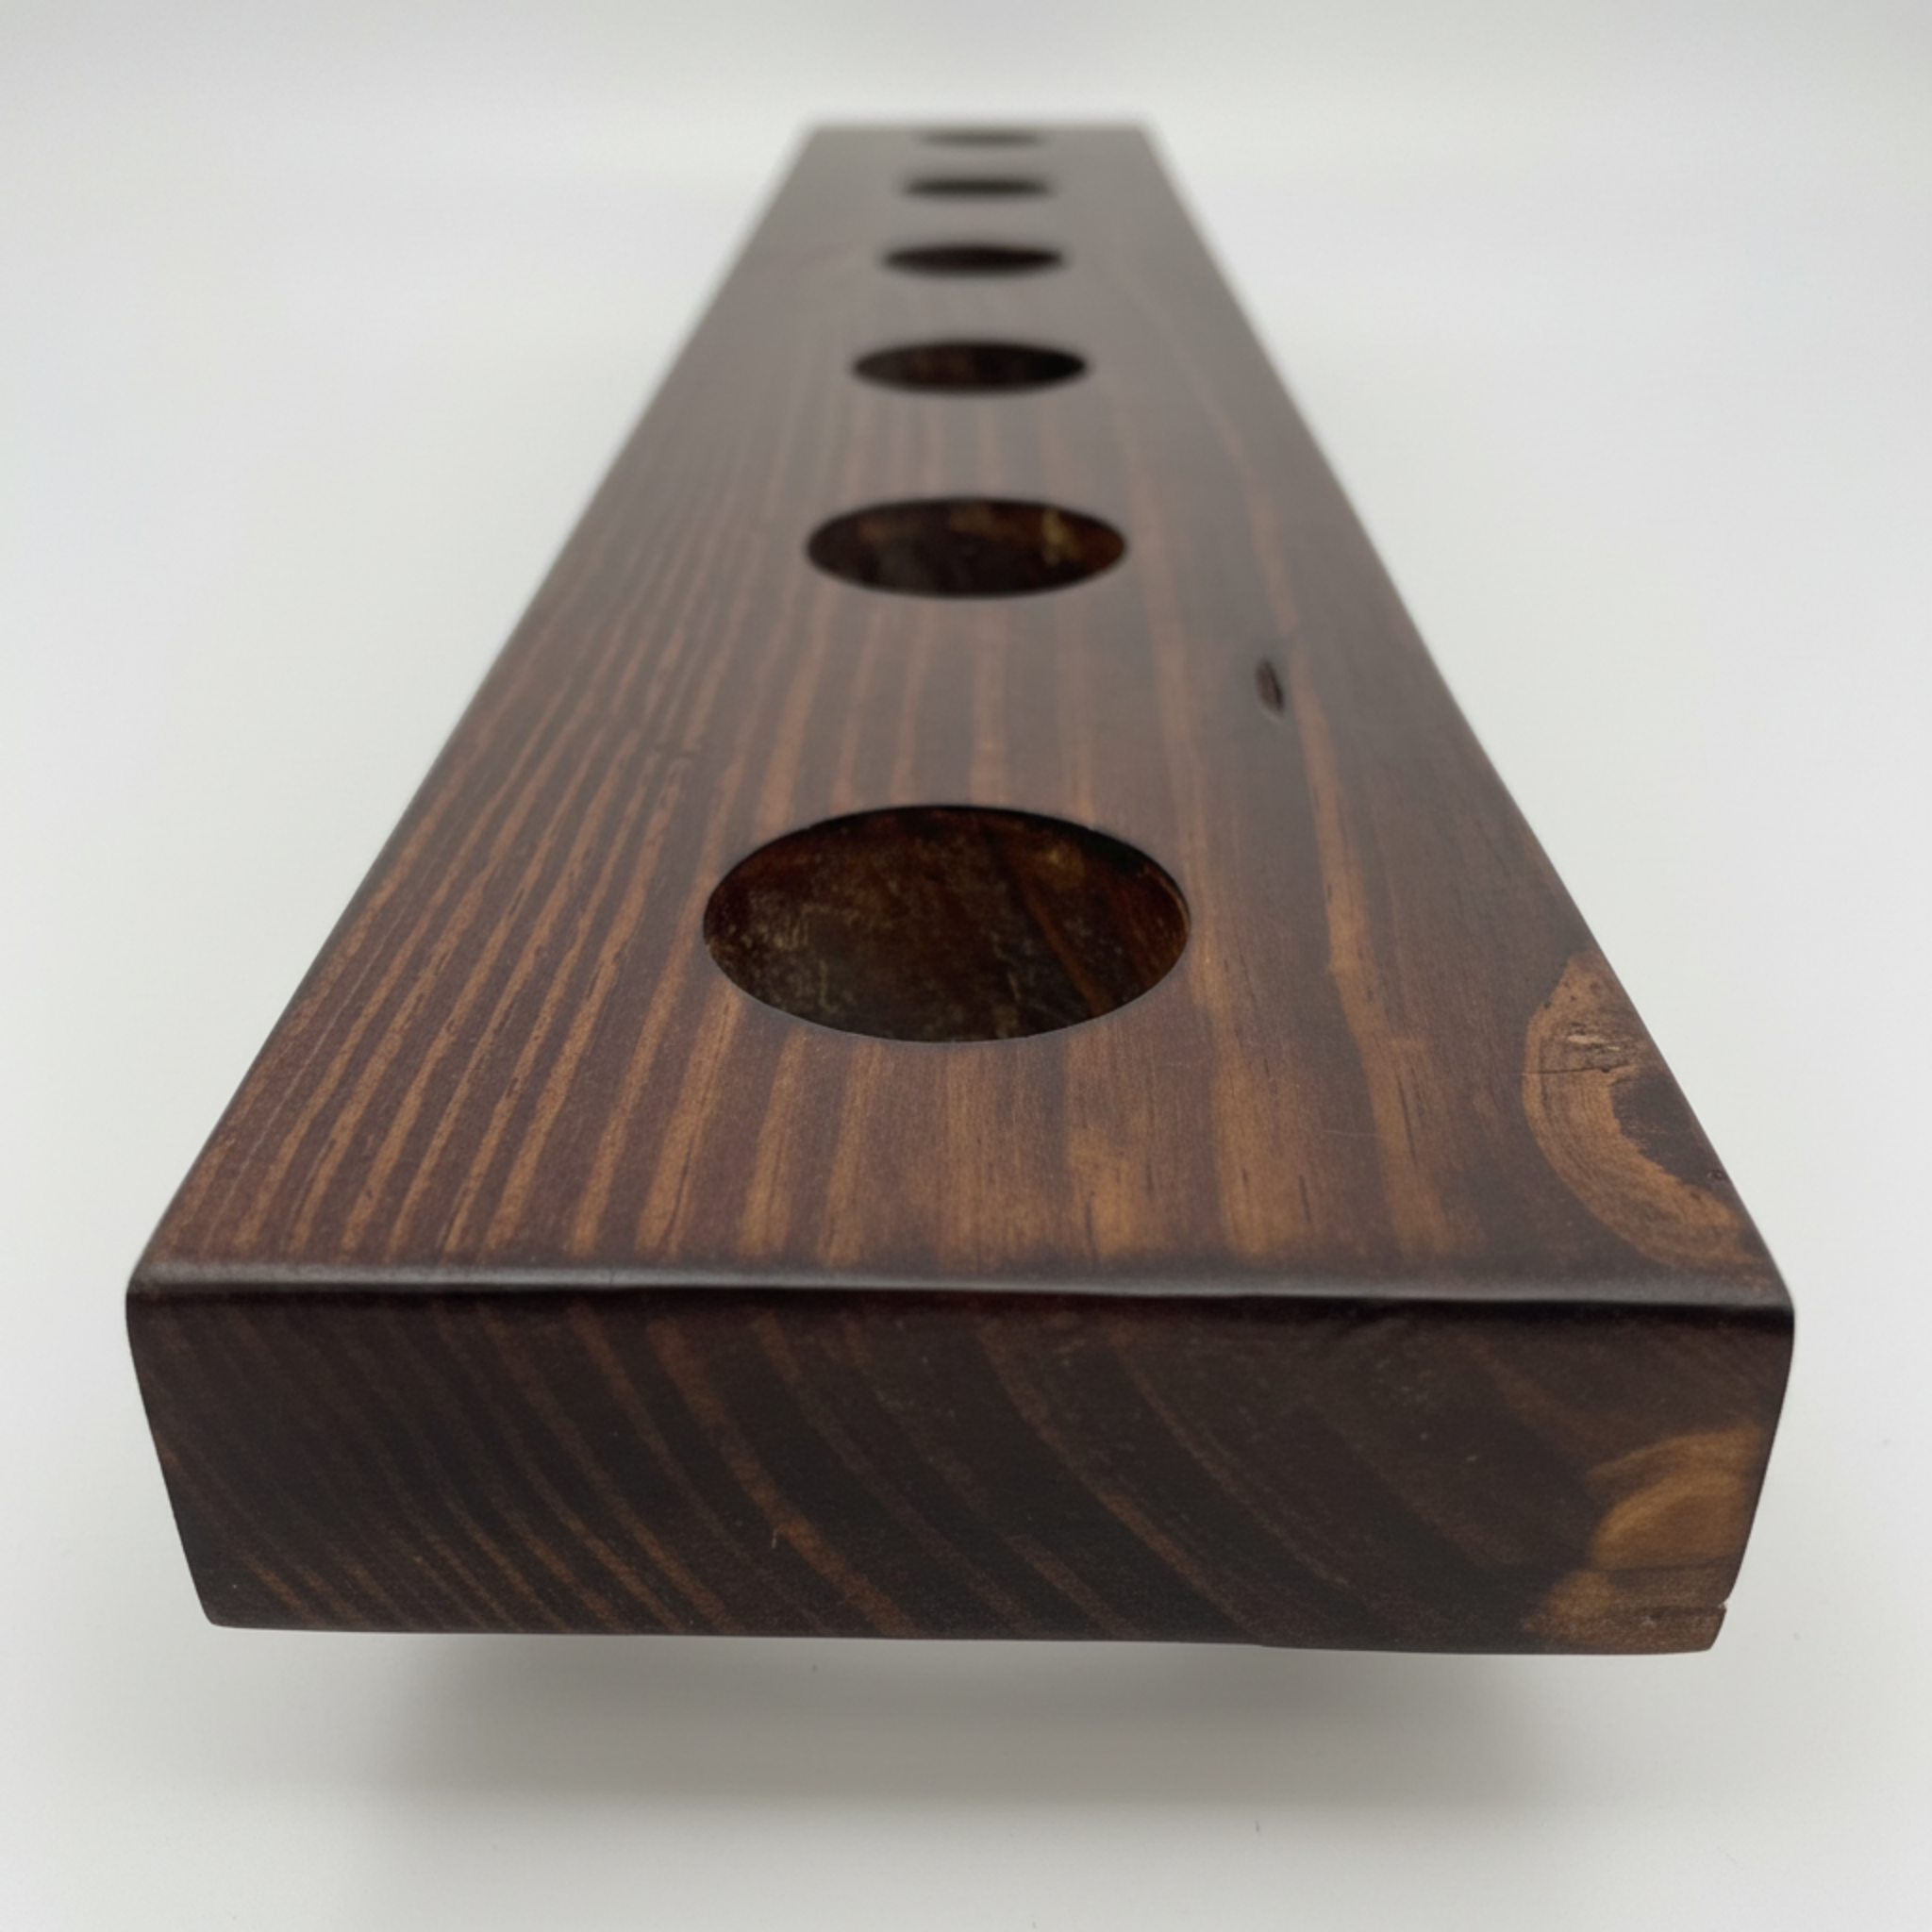
Once the mounting system is secured, place and lock the wooden shelf or modular structure into position as instructed.
Always install the wooden structure first before inserting any glass components.
Step 5 — Insert the Glass Tube
After the shelf is fully installed:
- Place the support ring onto the glass tube
- Adjust the ring to the desired height
- Carefully insert the borosilicate glass tube into the holder or mounting slot
The support ring helps stabilize the tube and maintain proper positioning.
About the Glass Tubes
ILNOR uses high-quality borosilicate glass, known for:
- durability
- heat resistance
- clarity
- better resistance to thermal stress compared to regular glass
Under normal indoor use, the glass is highly reliable and suitable for hydroponic and decorative applications.
However, like all glass products, careful handling is still recommended.
Cleaning & Maintenance
Wooden Surfaces
To maintain the natural beauty of the wood:
- clean using a soft dry or slightly damp cloth
- avoid harsh chemicals or abrasive cleaners
- wipe spills promptly
- avoid prolonged water exposure
Our protective finish helps resist:
- moisture
- sunlight exposure
- daily wear
- termite-related damage under normal usage conditions
Cleaning Glass Tubes
For safe cleaning and maintenance:
Step 1
Carefully remove the glass tube from the mounted holder.
Step 2
Remove the support ring if needed.
Step 3
Clean the glass separately using:
- mild soap
- water
- soft cloth or sponge
Avoid sudden temperature changes or excessive force.
Step 4
Before reinstalling:
- ensure the shelf and mounting structure are properly secured
- confirm the holder area is dry and clean
Step 5
Reinsert the support ring onto the glass tube and carefully place the tube back into the mounted holder.
Always reinstall the shelf or structure first before placing the glass tube back.
Long-Term Care
Over time, wooden products may naturally develop:
- subtle finish changes
- small scratches
- surface wear
Many of these can be restored through our repair and restoration support.
Our philosophy is simple:
No ILNOR product should become waste simply because it has aged with use.
Need Assistance?
For installation help, replacement hardware, or maintenance support:
WhatsApp / Call: +91 92668 70502
Email: info@ilnor.shop
We’re happy to assist you.